I am certainly no luthier, but after a few failed attempts, a lot of
trial and error and a lot of fun, I now have a couple of very playable Cigar Box Guitars.
There are so many resources out there to get up and running,
Glenn Watt's youtube channel is really inspirational.
Here is how I built #2 (or #5 counting the failures):
The main ingredients:
A cigar box
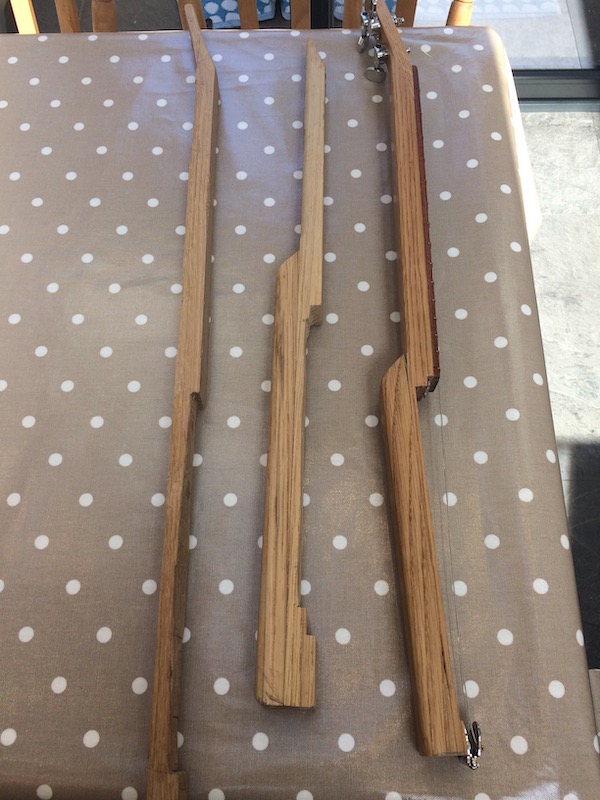
33 x 200mm oak cut to about 800mm for the neck
33 x 200mm oak cut to 400mm for the heel
33 x 15mm oak cut to around 200mm oak for the headstock
6mm x 500m mahogony for the fretboard cut a little bit wider than the neck.
Timber ready for cuttingRound-over bit set on the router.Routing the complete length of the back of the heel, and about 400mm of the back of the neck for a nice rounded profile.Cutting the scarf join on the table saw. After much experimentation I ended up making a sled for this cut.The back of the sled - the glued on metal bar fits nicely into the table slot to guide the sled.And that is most of the cuts and routing done. The cut on the heel was done with the tilt on the table saw.A little tidying up of the heel before gluing.Ready for gluing.Gluing the scarf joint. I find this one of the hardest parts of the process as the timber never wants to lay flat.Gluing the heel to the neck.Holes cut for the tuning pegs. A 9.5mm is the perfect size. I've positioned the holes so the string do not overlap.Cutting the slots for the frets with a Stanley Fat Max saw, using the [fret position calculator at Stewmac](https://www.stewmac.com/FretCalculator) to do the maths.Gluing the fretboard to the neck.Notching the Cigar box lid to fit the neck. Sometimes the wood pops out really easily, but not this time. I'll cut the base of the box when I am happy with the angle of the neck.Notching the neck is nice and easy with the table saw, the remainder flies out with a hammer and chisel. The angle of the neck is just a guess for now, I'll cut it more precisely when the strings are on.Sanding the fretboard as its easier to do so before fretting.Hammering in the frets with a soft faced hammer.Fret edges sanded with the belt sander.Hole for the audio jack drilled with a 13mm bit (11-12mm would be better if I had one), volume pot hole drilled with a 7mm bit.Sanding the neck. I thought this would be tedious but it turns out to be one of the most satisfying parts of the build.Applying 4 coats of Danish Oil to the neck.Things were looking good, then this happens while fixing the tailpiece.Fixing the mistakeI think I got away with it.After much wedging, filing and sanding, here is the final neck.Hinge tailpiece fixed into positionMaking the bridge from a spare bit of fretboard and a bolt.Final cuts to the boxNut cut down to size then filed down. I find this another tricky part and took a few attempts to get it right.Nut lightly glued into place with a dab of UHU.Leveling the frets with the fret file.Polishing the frets with wire wool.Creating the fret markers by burning the wood with a soldering iron, worth doing just for the smell.2 piezo pickups glued under the bridge2 piezo's wired in parallel with one volume, thanks to [this article](https://www.cigarboxguitar.com/knowledge-base/cigar-box-guitar-piezo-wiring-diagrams/)And the finished item
